
Add Your Account to the Database ETH: A Comprehensive Guide
Embarking on the journey to add your account to the Ethereum (ETH) database is a significant step in the world of blockchain technology. This guide will walk you through the process, ensuring you have all the necessary information to successfully integrate your account into the Ethereum network.
Understanding Ethereum and its Database
Ethereum is a decentralized platform that runs smart contracts: applications that run exactly as programmed without any possibility of downtime, fraud, or third-party interference. The Ethereum network is powered by its native cryptocurrency, ETH, which is used to pay for transaction fees and to incentivize network participants.

The Ethereum database, often referred to as the Ethereum blockchain, is a public ledger that records all transactions across the network. It is crucial to understand that this database is decentralized, meaning it is maintained by a network of computers (nodes) rather than a single entity.
Creating an Ethereum Account
Before you can add your account to the Ethereum database, you need to create an Ethereum account. Here’s how you can do it:
-
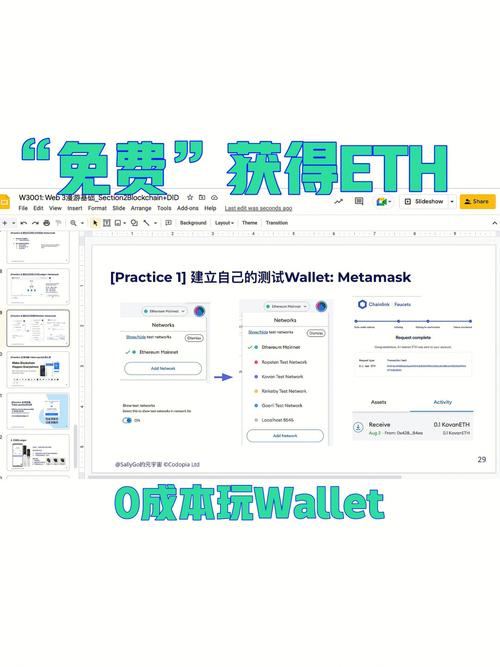
Choose a wallet: There are various types of wallets available, including software wallets (like MetaMask, MyEtherWallet), hardware wallets (like Ledger, Trezor), and paper wallets. Each type has its own set of features and security considerations.
-
Create a wallet: If you choose a software wallet, follow the instructions provided by the wallet provider to create a new wallet. This typically involves generating a private key and a public address.
-
Backup your wallet: It is crucial to backup your wallet, especially if you are using a software wallet. This ensures that you can recover your account in case of loss or damage to your device.
Adding Your Account to the Ethereum Database
Once you have created an Ethereum account, you are ready to add it to the Ethereum database. Here’s how you can do it:
-
Connect your wallet: Use your wallet to connect to the Ethereum network. This can be done by installing the wallet software or by using a web-based wallet.
-
Generate a new address: If you want to create a new address within your wallet, most wallets provide this functionality. This will generate a new public address associated with your account.
-
Send ETH to your new address: To add ETH to your account, you need to send ETH from another Ethereum address to your new address. This can be done by using a cryptocurrency exchange or by transferring ETH from another wallet.
-
Wait for confirmation: Once you have sent ETH to your new address, you need to wait for the transaction to be confirmed by the network. This process can take a few minutes to several hours, depending on the network’s congestion.
Understanding Transaction Fees
When you add ETH to your account, you will be charged transaction fees. These fees are paid to the network participants who validate and process your transactions. Here’s what you need to know about transaction fees:
| Transaction Type | Average Fee (in ETH) | Estimated Time for Confirmation |
|---|---|---|
| Basic Transaction | 0.0001 ETH | 1-2 minutes |
| Standard Transaction | 0.001 ETH | 10-30 minutes |
| Priority Transaction | 0.01 ETH | 1-5 minutes |
Ensuring Security
Security is paramount when dealing with cryptocurrency. Here are some tips to ensure the security of your Ethereum account:
-
Use strong passwords: Create strong, unique passwords for your wallet and any other accounts associated with your Ethereum account.
-
Enable two-factor authentication: Where available, enable two-factor authentication to add an extra layer of security to your account.
-
Keep your private key safe: Never share your private key with anyone. If someone has access to your private key, they can control your