1060 ETH Overclock: A Comprehensive Guide for Enthusiasts
Are you looking to squeeze every last bit of performance out of your NVIDIA GeForce GTX 1060 graphics card? Overclocking your GPU can be a rewarding endeavor, offering improved frame rates and potentially better mining performance. In this detailed guide, we’ll delve into the ins and outs of overclocking your GTX 1060, covering everything from hardware requirements to software tools and best practices.
Understanding Overclocking
Before diving into the specifics of overclocking your GTX 1060, it’s important to understand what overclocking entails. Overclocking is the process of increasing the clock speed of a component beyond its stock or default settings. This can lead to higher performance, but it also comes with increased heat and power consumption.
When you overclock your GPU, you’re essentially pushing it to work harder and faster than it was designed to. This can result in better gaming experiences, especially in high-resolution settings or with demanding games. However, it’s crucial to approach overclocking with caution, as pushing your GPU too hard can lead to instability, reduced lifespan, and even damage.
Hardware Requirements
Before you start overclocking your GTX 1060, ensure that your system meets the following hardware requirements:
| Component | Minimum Requirement |
|---|---|
| Processor | Intel Core i5-6600K or AMD Ryzen 5 1600 |
| Memory | 8GB DDR4 RAM |
| Storage | 500GB SSD or 1TB HDD |
| Power Supply | 550W 80+ Bronze or better |
These requirements are a starting point, and your system may need additional components or upgrades to handle the increased power and heat generated by an overclocked GPU.
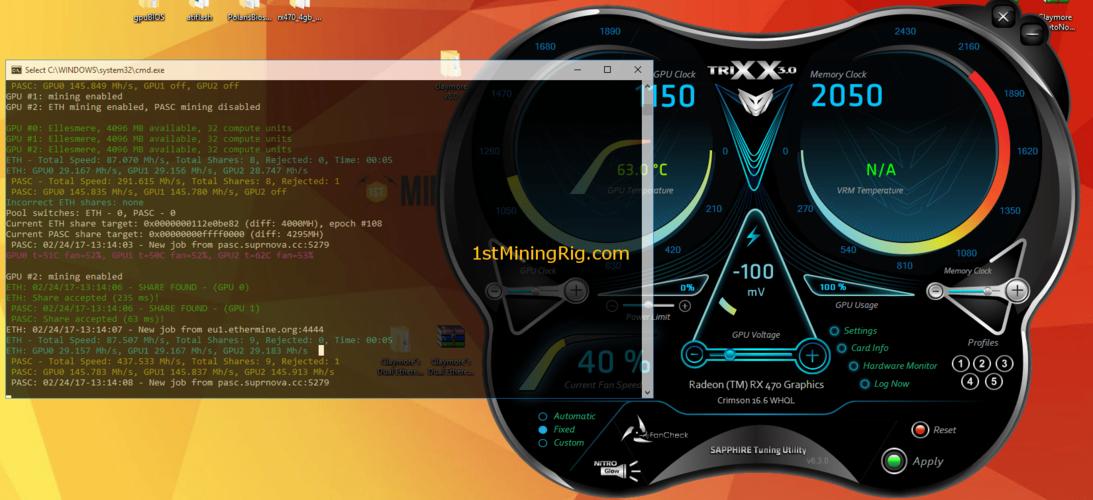
Software Tools
There are several software tools available for overclocking your GTX 1060. The most popular options include:
- NVIDIA Control Panel: This built-in tool allows you to adjust clock speeds, memory speeds, and power targets for your GPU.
- MSI Afterburner: A powerful third-party utility that offers advanced monitoring and control features, including real-time monitoring of GPU temperature, clock speeds, and fan speeds.
- Radeon Settings (for AMD GPUs): If you have an AMD GPU, this utility provides similar functionality to the NVIDIA Control Panel.
When choosing a software tool, consider your needs and preferences. Some users prefer the simplicity of the NVIDIA Control Panel, while others may opt for the advanced features offered by MSI Afterburner.
Overclocking Process
Now that you have the necessary hardware and software, it’s time to start the overclocking process. Here’s a step-by-step guide:
- Open your chosen software tool and navigate to the GPU settings.
- Start by increasing the core clock speed in small increments (e.g., 5-10 MHz). Monitor your GPU temperature and performance to ensure stability.
- Once you find a stable core clock speed, move on to the memory clock speed. Again, increase it in small increments and monitor for stability.
- Adjust the power target and voltage settings if necessary. Be cautious with voltage adjustments, as excessive voltage can lead to damage.
- Test your system’s stability by running a stress test or playing a demanding game for an extended period.
- Repeat the process, fine-tuning your settings until you find the optimal balance between performance and stability.
Remember that every GPU is different, so there’s no one-size-fits-all approach to overclocking. Experiment with different settings and find the combination that works best for your GTX 1060.
Best Practices
Here are some best practices to keep in mind when overclocking your GTX 1060:
- Monitor temperatures: Keep an eye on your GPU temperature to ensure it doesn’t exceed safe limits. Use a hardware monitor