
Add ETH, MATIC, and MetaMask: A Comprehensive Guide
Embarking on the journey of cryptocurrency can be both exciting and daunting. One of the key steps in this journey is to add Ethereum (ETH), Polygon (MATIC), and set up MetaMask, a popular cryptocurrency wallet. In this detailed guide, we will walk you through the process step by step, ensuring you have a seamless experience.
Understanding Ethereum (ETH)
Ethereum is a decentralized platform that runs smart contracts: applications that run exactly as programmed without any possibility of downtime, fraud, or third-party interference. ETH is the native cryptocurrency of the Ethereum network and is used to pay for transaction fees and services on the network.

Understanding Polygon (MATIC)
Polygon, previously known as Matic Network, is a layer-2 scaling solution for Ethereum. It aims to provide faster and cheaper transactions by allowing Ethereum-based applications to run on its network. MATIC is the native token of the Polygon network and is used for governance and paying for transaction fees.
Setting Up MetaMask
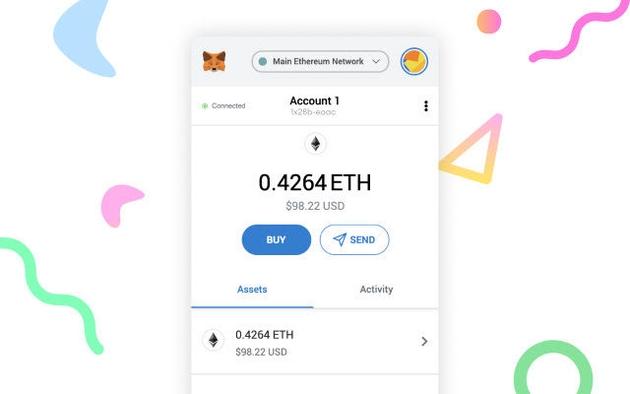
MetaMask is a popular cryptocurrency wallet that allows you to store, send, and receive ETH and MATIC. Here’s how to set it up:
- Visit MetaMask’s website and download the extension for your preferred browser.
- Follow the installation instructions and create a new wallet.
- Back up your wallet by writing down your 12-word recovery phrase. Keep this phrase safe and secure, as it is the only way to recover your wallet if you lose access to it.
- Once your wallet is set up, you can import ETH and MATIC into it.
Adding ETH to MetaMask
Here’s how to add ETH to your MetaMask wallet:
- Open MetaMask and click on the “Ethereum Mainnet” network.
- Click on the “Receive” button and copy your ETH address.
- Send ETH to your MetaMask address from an exchange or another wallet.
Adding MATIC to MetaMask
Adding MATIC to your MetaMask wallet is a bit different, as it requires a bridge to convert ETH to MATIC. Here’s how to do it:
- Visit Polygon’s bridge and click on “Connect Wallet.” Choose MetaMask from the list of wallets.
- Click on “Connect” and sign the transaction in MetaMask.
- Enter the amount of ETH you want to convert to MATIC and click “Convert.” You will receive MATIC in your MetaMask wallet.
Understanding Gas Fees
When you send ETH or MATIC, you will need to pay a gas fee. Gas fees are paid in ETH and are used to compensate the network for processing your transaction. The higher the gas fee, the faster your transaction will be confirmed.
Using ETH and MATIC
Once you have ETH and MATIC in your MetaMask wallet, you can use them to purchase NFTs, participate in decentralized finance (DeFi) applications, or simply hold them as an investment.
Conclusion
Adding ETH and MATIC to your MetaMask wallet is a straightforward process that can be completed in a few simple steps. By following this guide, you can ensure a smooth and secure experience in the world of cryptocurrency.
| Step | Description |
|---|---|
| 1 | Set up MetaMask and create a new wallet. |
| 2 | Import ETH to your MetaMask wallet. |
| 3 | Use Polygon’s bridge to convert ETH to MATIC. |
| 4 | Use ETH and MATIC to purchase NFTs or participate in DeFi. |