
Add Two ETH Interfaces to a VPC in GNS3
Virtual Private Clouds (VPCs) are a fundamental component of cloud computing, allowing you to create and manage a virtual network that closely mimics a traditional network. GNS3, a powerful network simulation platform, is widely used for testing and learning about network configurations. In this guide, I’ll walk you through the process of adding two Ethernet (ETH) interfaces to a VPC in GNS3, providing you with a step-by-step approach to enhance your network simulation experience.
Understanding the Basics
Before diving into the specifics of adding ETH interfaces to a VPC in GNS3, it’s essential to understand the basic concepts involved. A VPC is a virtual network that you can create in a cloud environment, and GNS3 allows you to simulate this environment. An ETH interface is a virtual network interface that can be used to connect devices within the VPC.

Here’s a brief overview of the key terms:
| Term | Description |
|---|---|
| Virtual Private Cloud (VPC) | A virtual network that you can create in a cloud environment. |
| Ethernet (ETH) Interface | A virtual network interface used to connect devices within the VPC. |
| GNS3 | A network simulation platform used for testing and learning about network configurations. |
Setting Up Your GNS3 Environment
Before you can add ETH interfaces to a VPC in GNS3, you need to set up your environment. Here’s a quick rundown of the steps involved:
- Download and install GNS3 from the official website.
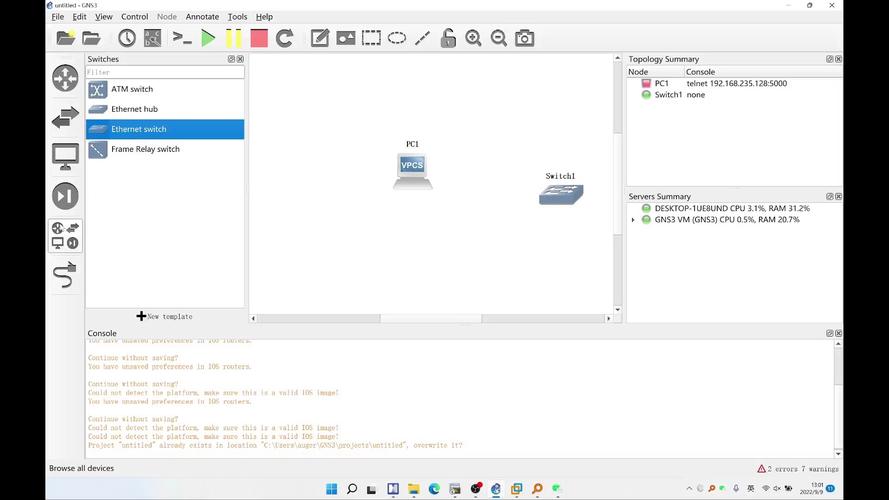
- Launch GNS3 and create a new project.
- Add a router to your project. You can choose from various router models, such as Cisco 2911 or 3560.
- Connect the router to a switch using a virtual Ethernet cable.
Adding ETH Interfaces to the Router
Now that you have a basic setup, it’s time to add ETH interfaces to the router. Follow these steps:
- Select the router in the GNS3 workspace.
- In the Properties panel, click on the “Interfaces” tab.
- Click the “Add” button to create a new ETH interface.
- Enter a name for the interface, such as “ETH0” or “ETH1”.
- Select the appropriate interface type, which should be “ETH” in this case.
- Configure the IP address and subnet mask for the ETH interface.
- Click “OK” to save the changes.
Adding ETH Interfaces to the Switch
After adding ETH interfaces to the router, you need to connect them to the switch. Here’s how to do it:
- Select the switch in the GNS3 workspace.
- In the Properties panel, click on the “Interfaces” tab.
- Click the “Add” button to create a new ETH interface.
- Enter a name for the interface, such as “ETH0” or “ETH1” (matching the router interfaces).
- Select the appropriate interface type, which should be “ETH” in this case.
- Configure the IP address and subnet mask for the ETH interface.
- Click “OK” to save the changes.
Testing the Configuration
Once you’ve added the ETH interfaces to both the router and the switch, it’s time to test the configuration. Follow these steps:
- Select the router in the GNS3 workspace.
- In the Properties panel, click on the “Console” tab.
- Connect to the console using a terminal emulator, such as PuTTY.
- Enter the router’s command-line interface (CLI) and verify that the ETH interfaces are up and running.
- Use the “ping” command to test connectivity between the router and the